Text styles
The "Text style" tool is a dropdown menu that allows you to create headings. The list of choices contains different text styles. While "Normal" means simple/normal text, the other six styles are headings ranging from level 1 to level 6. Headings are incompatible with all other XML tags. This means that a heading can not be a link, it can not be bold, italic, etc. In fact, the only thing that headings are compatible with is special characters.
Please note that when generating XHTML code, the system will produce "h2" tags for headings of level 1, "h3" tags for headings of level 2 and so on. This is done because the "h1" tag is usually used to display the name of the node which is being viewed and hence it is "reserved" / not available from within the Online Editor. This behavior can be changed by providing a custom version of the "header.tpl" template which is located in the "templates/content/datatype/view/ezxmltags" directory of the standard design.
Changing the text style
The following example demonstrates how the text style of the current element can be changed. We will change the style for "Documentation and guidance" from heading 1 to 3.
Put the cursor somewhere inside the target text, which then will become the current element. Alternatively you can also select the text so that it will become a selected element. The "h1" tag will appear in the status bar and "Heading 1" will appear in the "Text Style" dropdown.
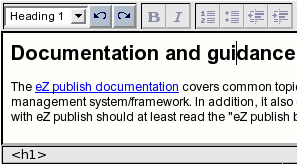
Online Editor: heading 1.
Access the dropdown menu, you will see the available headings. The one which is currently selected will be displayed using a darker background.
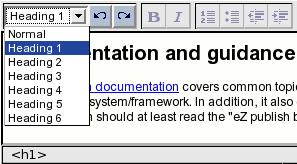
Accessing the "Text styles" dropdown menu.
Change the text style by selecting "Heading 3" from the list. You should be able to see the result immediately.
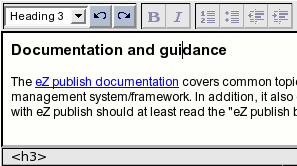
Online Editor: heading 3.
Creating a new heading from scratch
The following example demonstrates how to create a new heading called "Chapter 2" from scratch.
Type in "Chapter 2" as normal text.
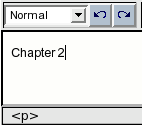
Creating a new heading from scratch.
Access the dropdown list and select "Heading 1". You should be able to see the result immediately, "Chapter 2" will be displayed as a heading.

Transforming normal text to heading 1.
Choosing text styles before writing
The following example demonstrates how to set the text style before typing in something. Let's say that we want to write "Chapter 3" and then type up a small paragraph of text.
- Create a new paragraph at the location where you wish to add the new chapter.
Open the dropdown list of text styles and choose "Heading 1". The empty paragraph will be transformed into a heading.
When using Internet Explorer, please note that you will have to make sure that the cursor is placed inside the new/empty heading. The "h1" tag will appear in the status bar.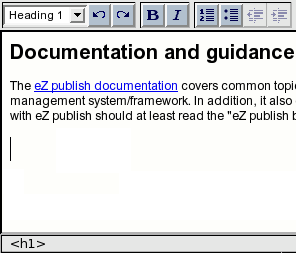
Choosing text styles before writing.
Type in "Chapter 3". It will appear in accordance with the selected text style.
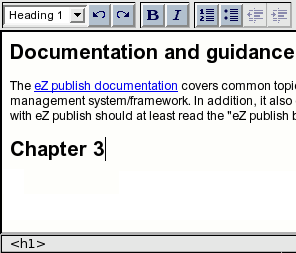
The text being written will become heading 1.
Press the "Enter" key to terminate the heading. At this point, the text style will be automatically set to "Normal" so that you can continue with writing simple/normal text. The "p" tag will appear in the status bar.
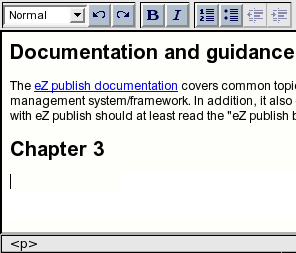
Press the "Enter" key to terminate the heading and start writing normal text.
Type in the paragraph for this chapter.
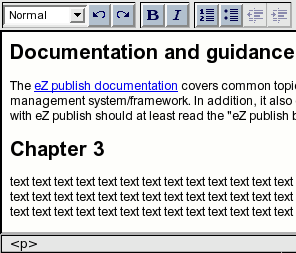
A normal text paragraph right after a heading.
Classified headings
To set a "class" parameter for heading, right click somewhere inside it and select the "Properties" item from the context menu. A modal dialog will appear. Select the desired class from the dropdown list and click the "OK" button.
Please note that the "Properties" item will not be available if you select some text and then right click.
Svitlana Shatokhina (19/12/2005 12:24 pm)
Balazs Halasy (19/01/2006 8:53 am)

Comments
There are no comments.