-

-

- Created by Dominika Kurek, last modified by Sarah Haïm-Lubczanski on Jan 27, 2017
You can find all files used and modified in this step on GitHub.
We are now left with the last of the planned Landing Page elements. We will create it by building a custom block for the Landing Page. You can utilize the possibility of creating custom blocks in many ways, with many complex configurations fitting your project. In this tutorial we will show the process of creating a block on a very simple example: we will display a randomly chosen Content item from a selected folder.
The procedure we will go through is based on (and uses parts of) a post written on the eZ Community Blog. You can take a look there for more detailed explanation.
To create a custom block from scratch we will need four elements:
- a block definition
- a template for the block
- a block extension class
- block configuration for the services and templates config
Block definition and template
A block definition contains block structure and the information that is passed from it to the template. Our definition will be contained in a RandomBlock.php file located in src/AppBundle/Block folder.
Now we need to define the block template. It will be placed in src/AppBundle/Resources/views/blocks:
Block extension and configuration
The next step is defining the extension that will provide block configuration to the eZ Platform Enterprise Edition app. To do this you need to make some additions to src/AppBundle/DependencyInjection/AppExtension.php.
First, add these three lines after remaining use statements:
Second, append implements PrependExtensionInterface to the AppExtension extends Extension line, so that it looks like this:
Finally, add the following function at the end of the one existing class:
Next, you need to provide the block configuration in two files. Add this section in the services.yml file in src/AppBundle/Resources/config under the services key:
Create a blocks.yml file in the same folder:
At this point the new custom block is ready to be used.
Go back to editing your Front Page. You can see the new block in the Elements menu on the right. Now drag it to the Landing Page side column. Access the block's settings and choose the All Tips Folder from the menu.
We're left with the last cosmetic changes. First, you can see that the new Block has a broken icon in the Elements menu. This is because we haven't provided this icon yet. If you look back to the RandomBlock.php file, you can see the icon file defined as random_block.svg. Download the provided file and place it in web/assets/images/blocks.
Finally, let's add some styling for the new block. Add the following to the end of the web/assets/css/style.css file:
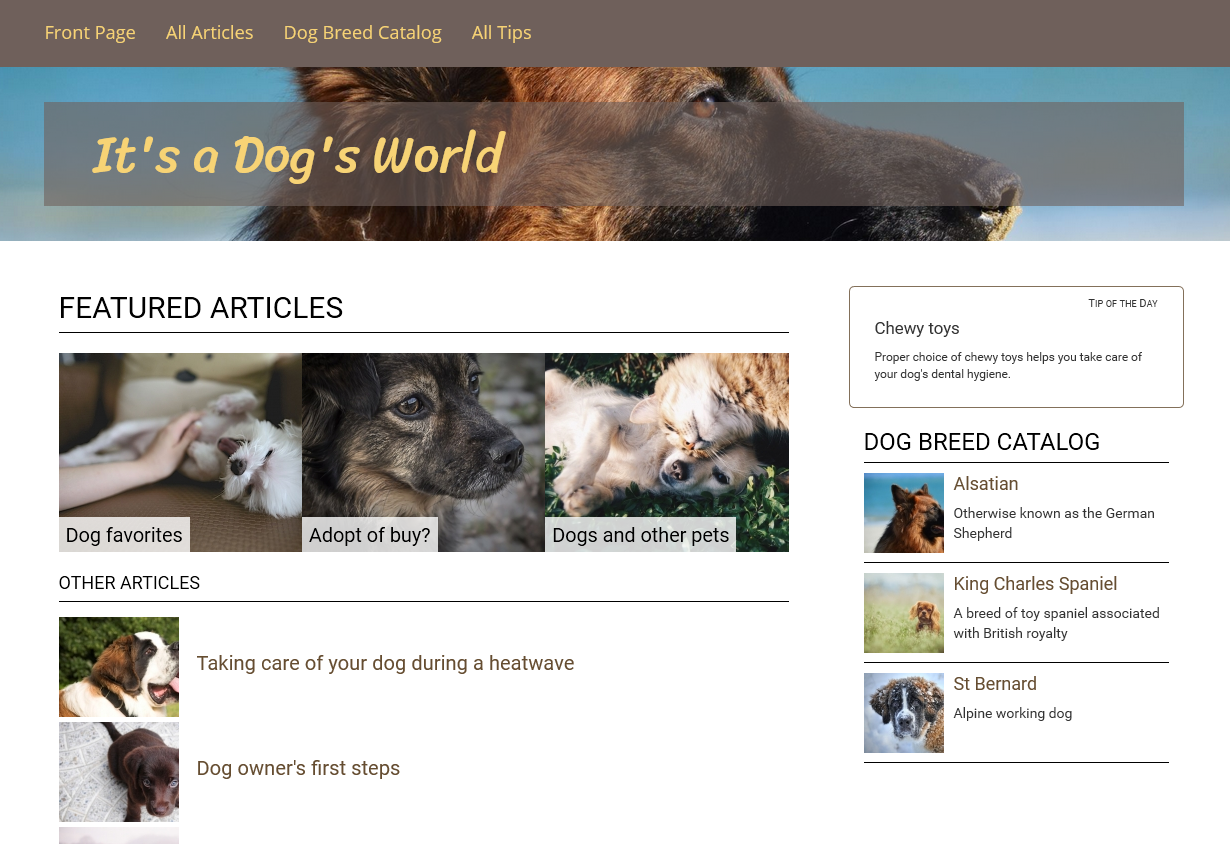
Now go to this new home page from the front end. You can see the Tip of the Day block display a random Tip from the Tips folder. Try to refresh the page a couple of times and you will see the tip change randomly.

Congratulations!
You have finished the tutorial and created your first customized Landing Page.
You have learned how to:
- Create and customize a Landing Page
- Make use of existing blocks and adapt them to your needs
- Plan content airtimes using Schedule Blocks
- Create custom blocks

⬅ Previous: Step 3 - Using existing blocks